
Contents:
Navigate to the Settings Page
To Navigate to your Try with Mirra App Settings in Shopify Admin:
- In the Search Bar at the top of the screen, select Apps and then select Try with Mirra - the app will then appear on the left of screen
- Underneath Try with Mirra, select Settings
- By default, the General tab will be displayed, allowing you to configure general settings for Try with Mirra
- Click the Returns tab to configure more returns-specific settings
General Settings
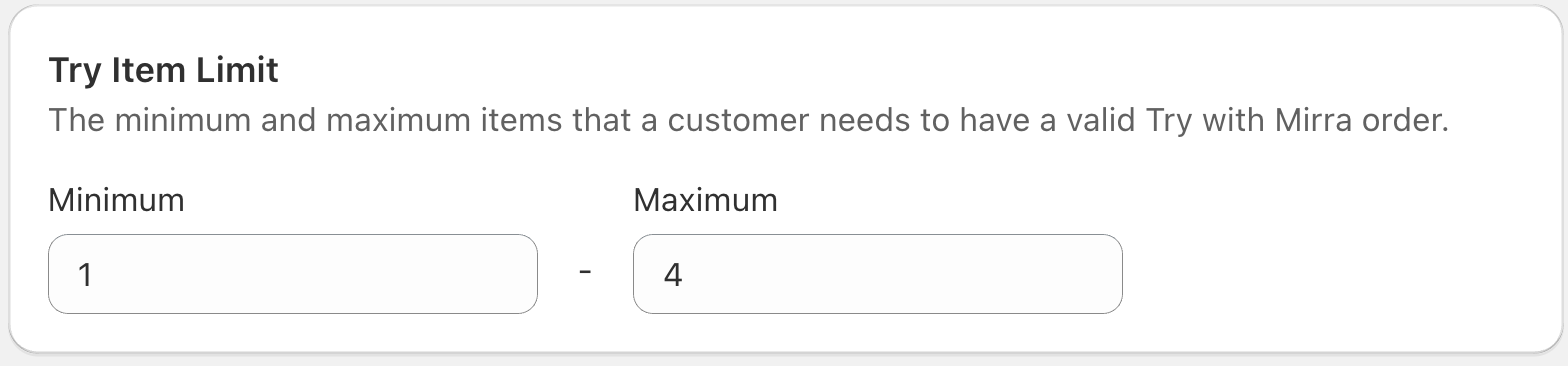
- Try Item Limit: Set the minimum and maximum number of items a customer can try.

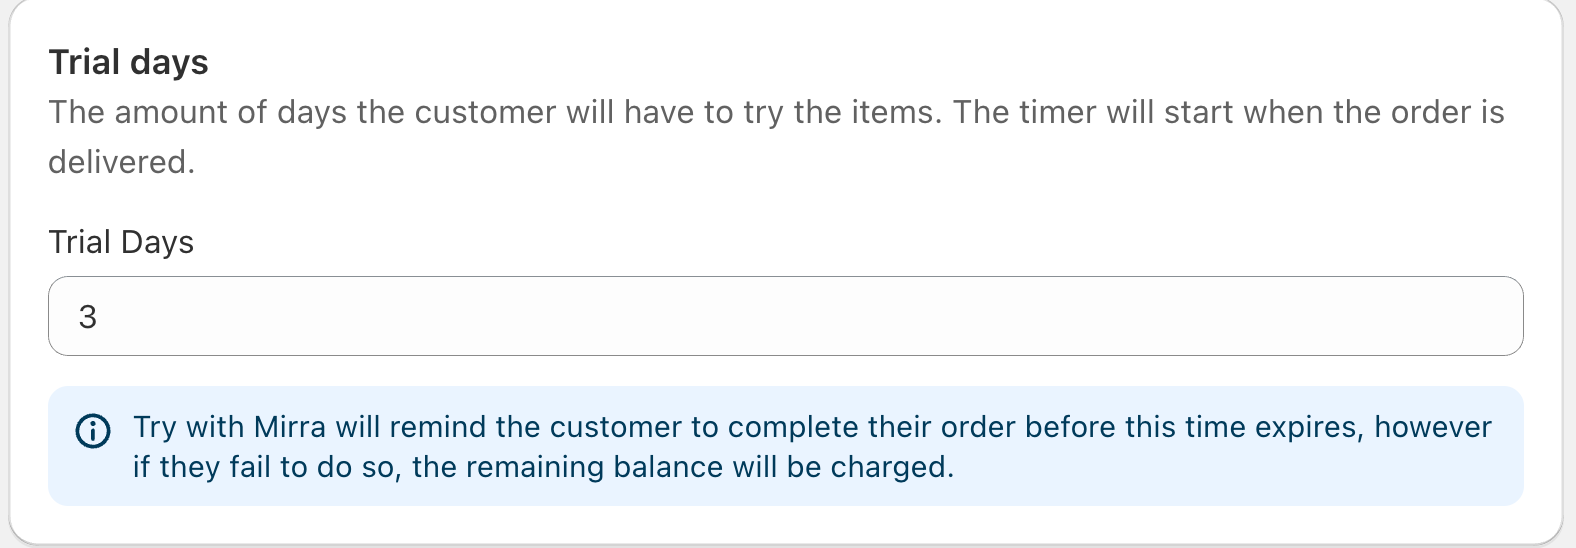
- Trial Days: Determine the length of the trial period for your customers, starting from the day of delivery.

- Note: Try with Mirra will send timely reminders to your customers to finalise their selections before the end of the trial period. If the trial concludes without action from the customer, the stored payment method will be charged for the full order.
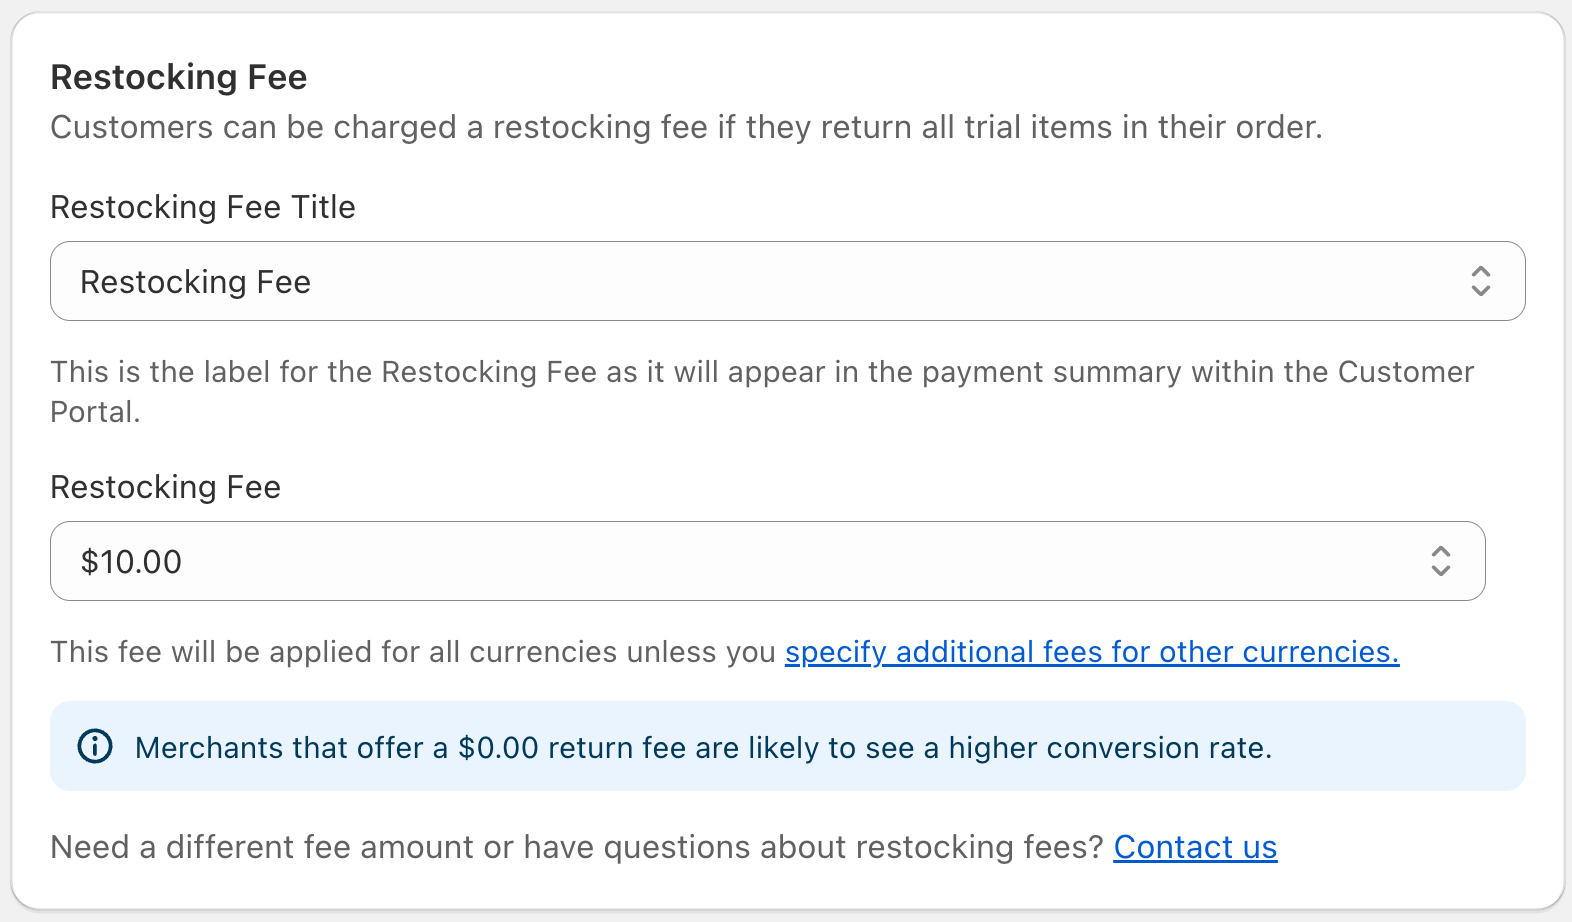
- Restocking Fee: Choose the wording you want to use from the Restocking Fee Title drop-down, and select the fee you want to charge from the Restocking Fee drop-down.

- Note: The Restocking Fee is only charged on orders where all Try Before You Buy items are returned.
- If you wish to charge different fees for other currencies, click the 'specify additional fees for other currencies' link to add additional options.
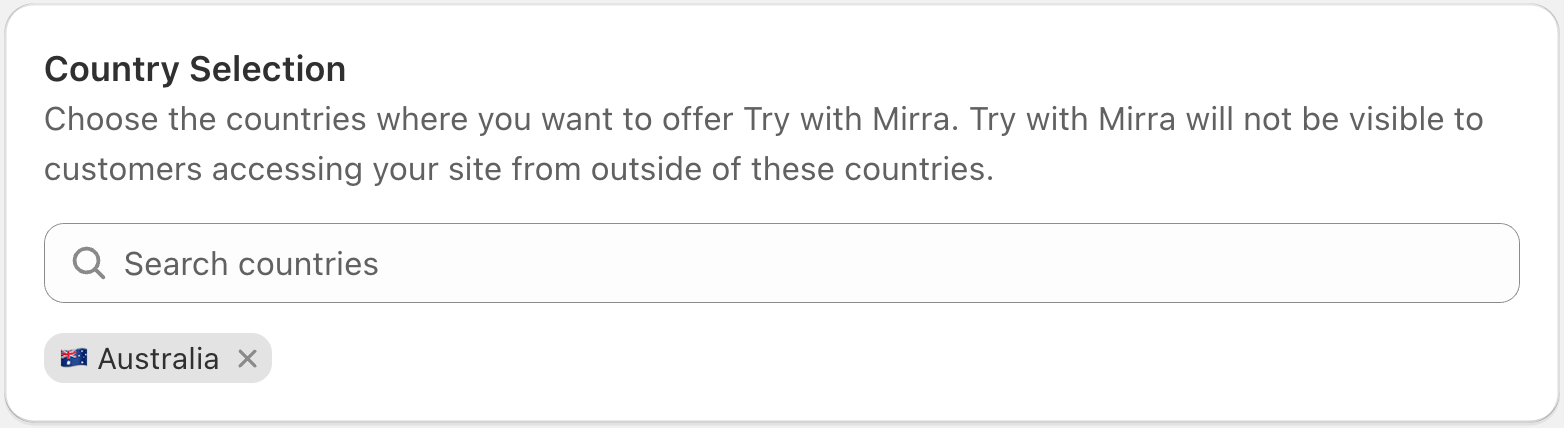
- Country Selection: Search for and select the countries you wish to activate Try with Mirra for. The Try Before You Buy button will not be visible to any customers accessing your website from outside of these countries.

- Restrict Customer Access: If you want to control customer access, enable one of the following options:

- Customer Tag Access: Enable this to restrict visibility of Try Before You Buy only to customers with the 'Try with Mirra' tag. Tagged customers must be signed in in order to see the Try Before You Buy button.
- URL Access: Enable this to restrict visibility of Try Before You Buy only to customers who visit your store using the generated link.
- Note: It is generally recommended to not have restricted access enabled unless there is a specific reason for doing so, such as a soft launch to select VIP customers.
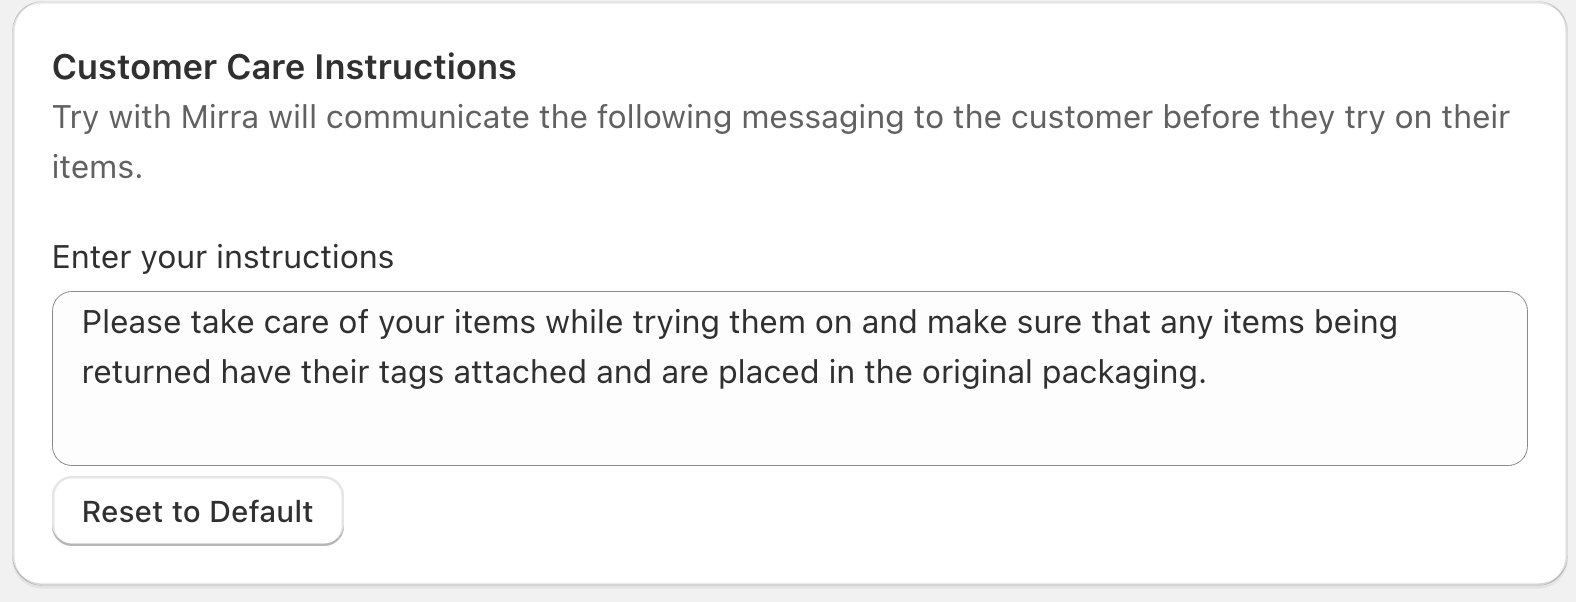
- Customer Care Instructions: Customise the messaging that Try with Mirra will communicate with the customer before they trial their items, ensuring they care for them correctly.

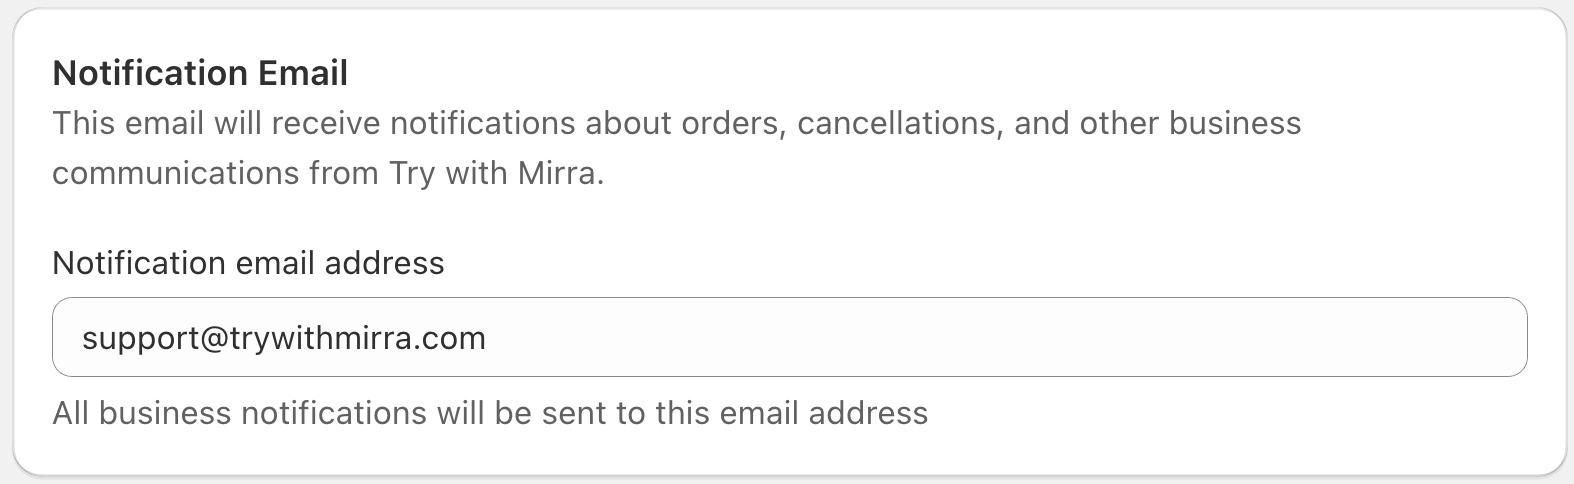
- Notification Email: Set the email address that Try with Mirra will use to send notifications regarding orders, cancellations, and any other business communications.

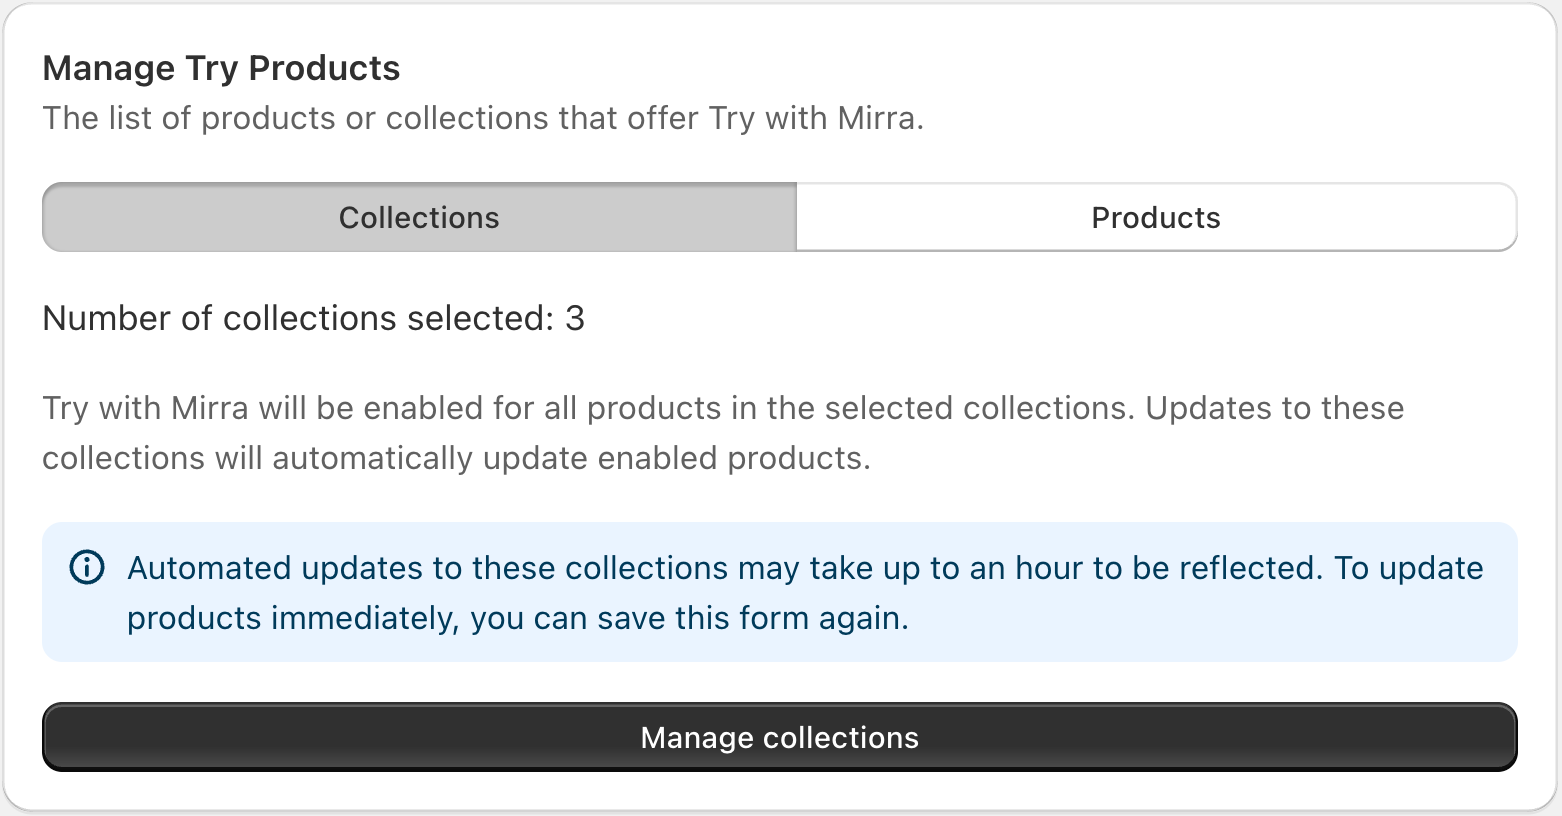
- Manage Try Products: Select products that will have the Try Before You Buy button displayed. Either Collections or Products can be chosen.

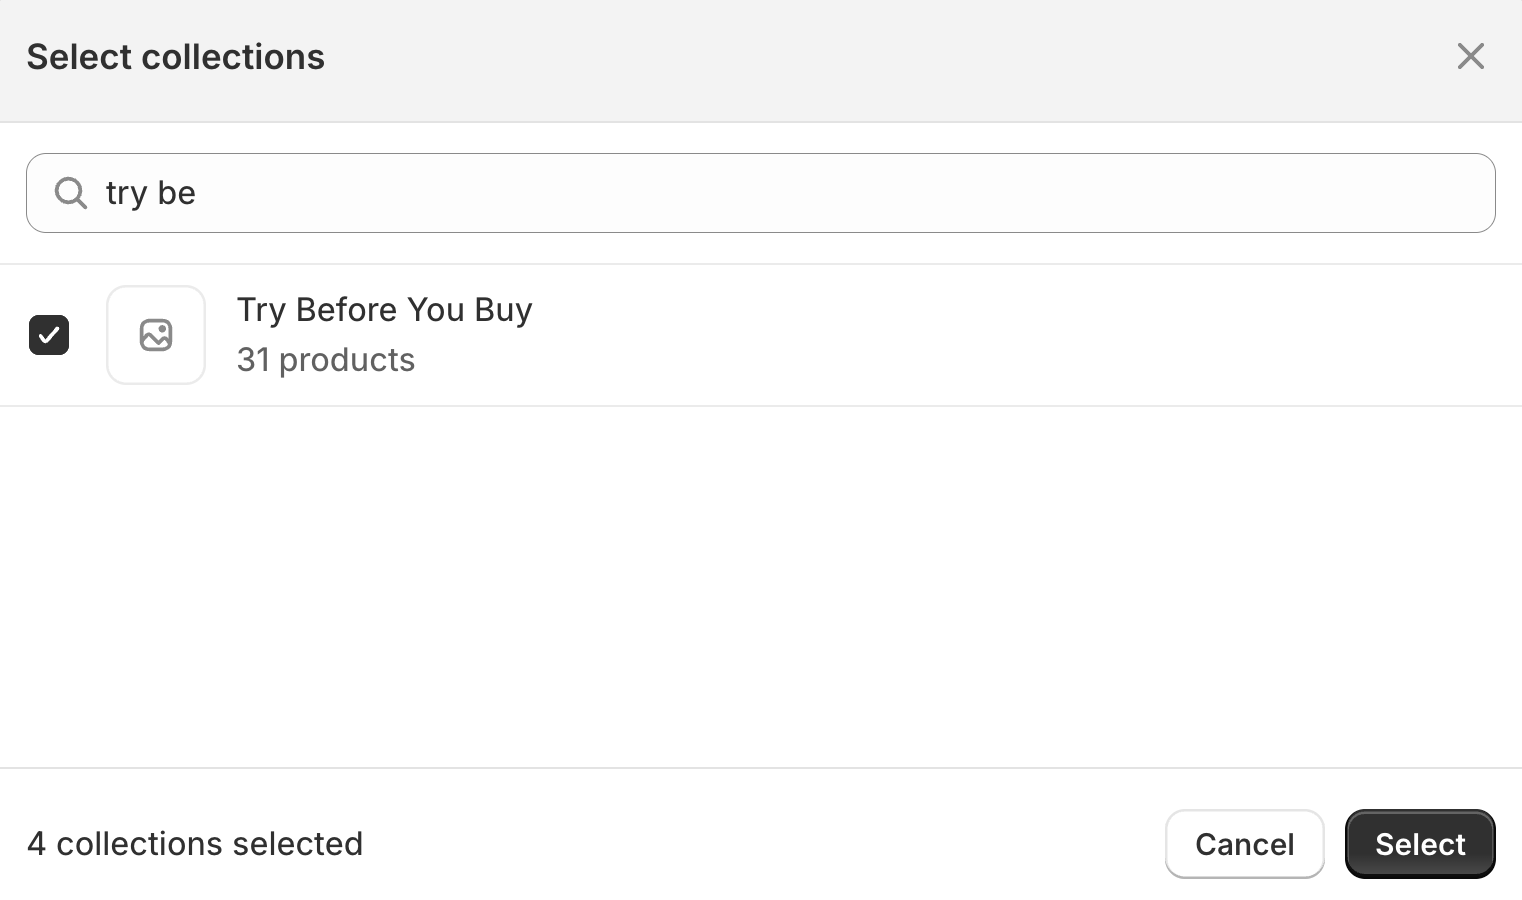
- Collections are the recommended choice, as they can be more easily managed and automated. Click Manage Collections to select which collection(s) you want to enable TBYB for.

- See our detailed guide on Creating TBYB Collections to learn how to set these up.
- Collections are the recommended choice, as they can be more easily managed and automated. Click Manage Collections to select which collection(s) you want to enable TBYB for.
- Add Logo: Upload your logo to be displayed in the Try with Mirra Customer Portal. Square logos are generally recommended.

- Save Changes: Once you're satisfied with the settings, click Save Changes at the bottom of the page to save your preferences and make them active for your customers.

Returns Settings
To open the Returns Settings, click on 'Returns' at the top of the page:
- Manage Return Reasons: Configure the options available for customers to select when they opt to return/exchange an item. Some default (fashion-related) options will already be pre-filled.

- Add Reason: Click on Add Reason at the top-right of the section to add additional reasons.
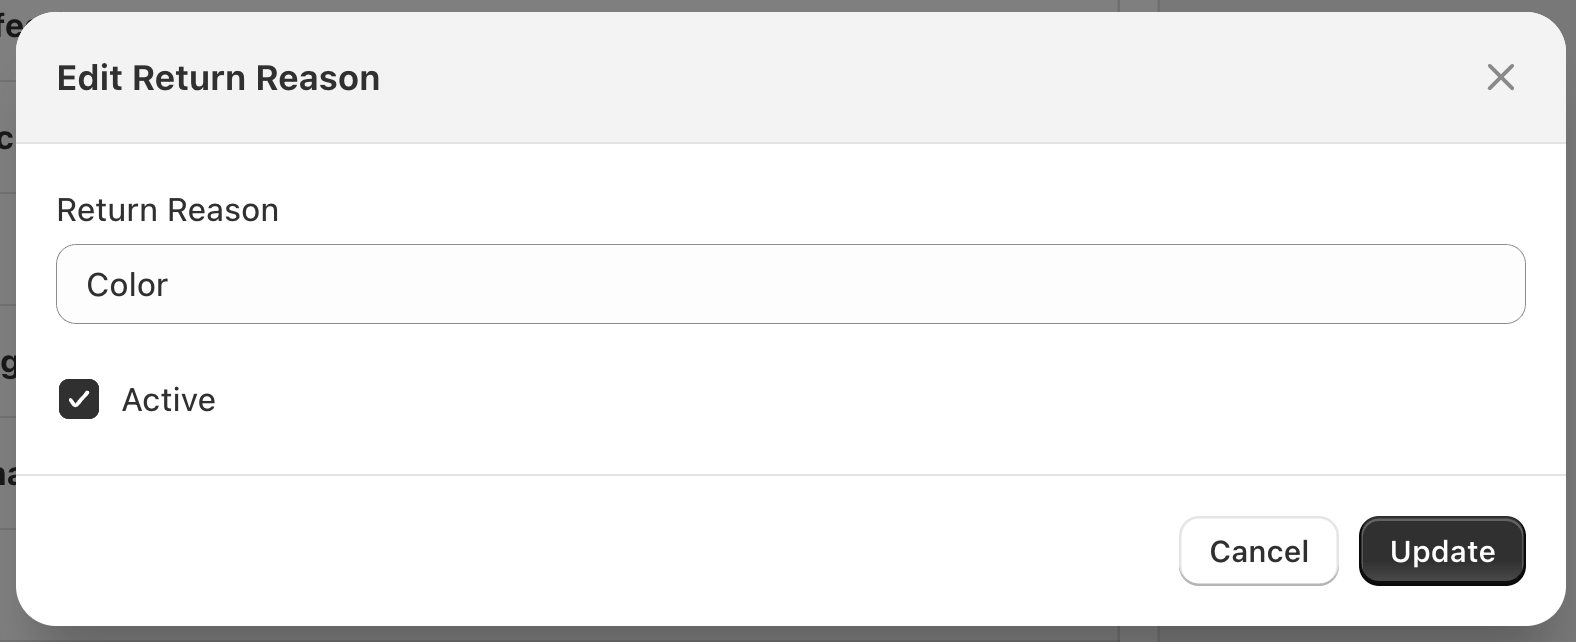
- Edit Reason: Click on the name of an existing reason to update it. You can also check or uncheck the Active marker to toggle the visibility of that particular reason.

- Delete Reasons: Clicking the checkbox next to existing reasons will cause an 'Actions' drop-down to appear. From this drop-down, selected reasons can be deleted.
- Manage Return Options: This section allows you to configure one or more return options.
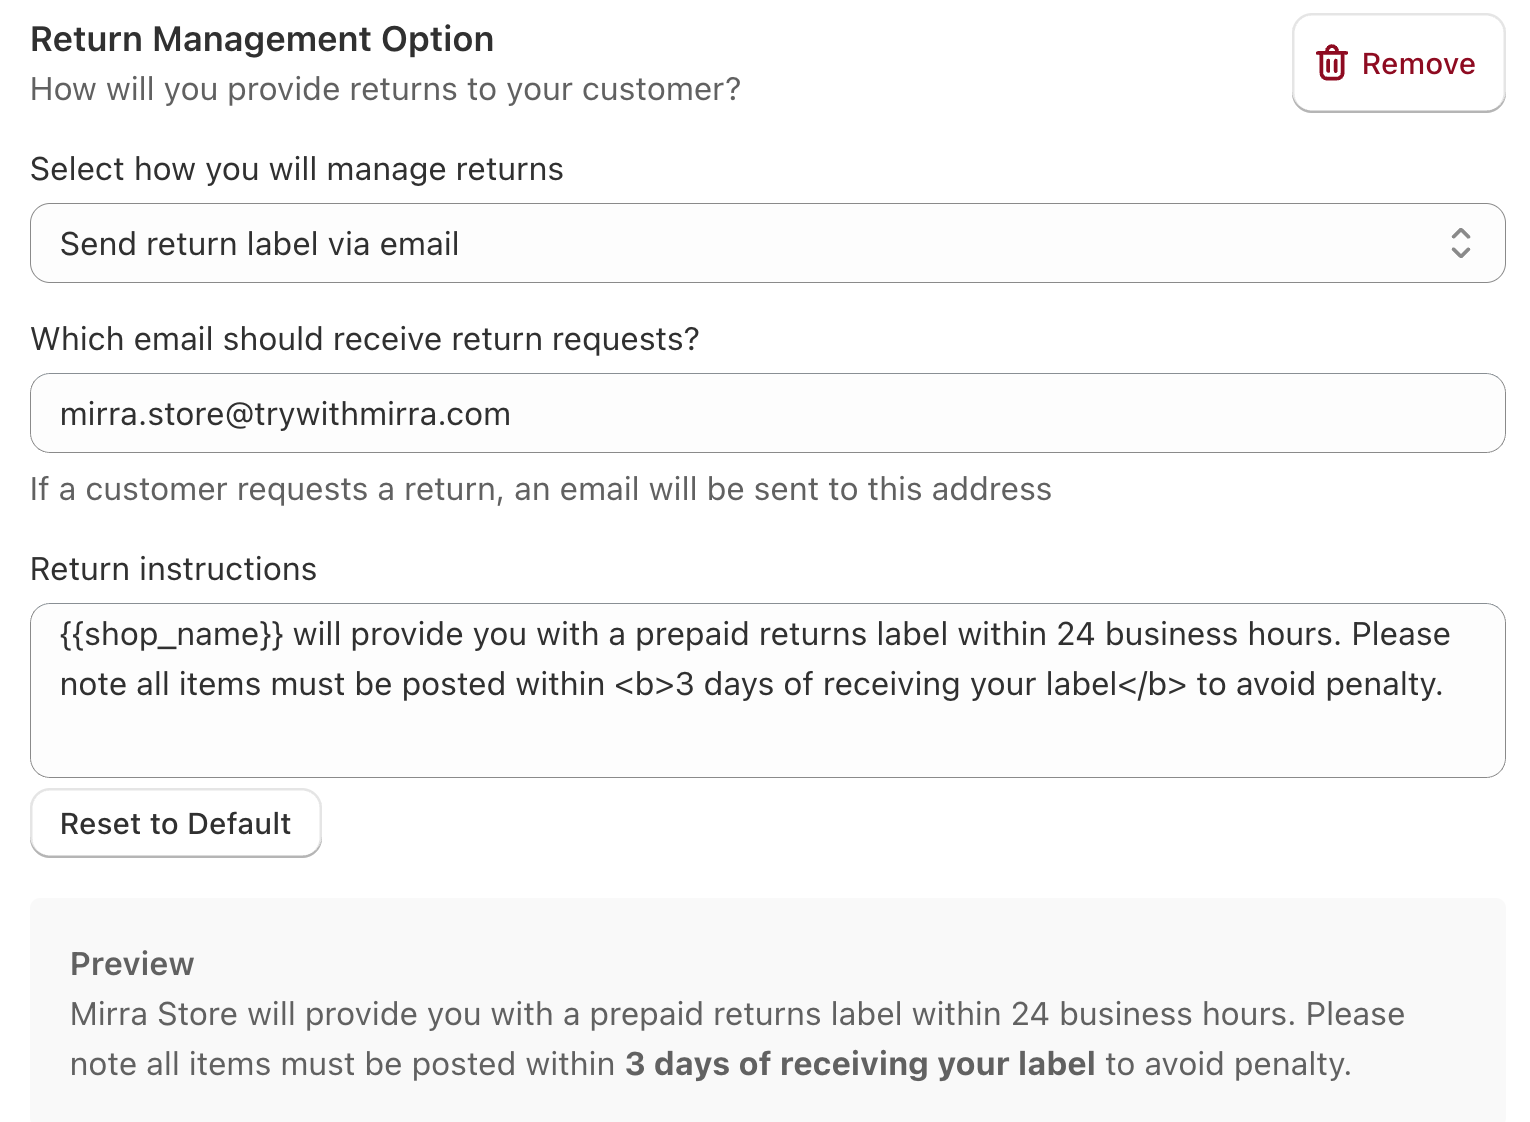
- Return Management Option: Select the desired option from the drop-down list. This defaults to 'Send return label via email'. With this option, enter the email address that will receive the return requests, and edit the instructions that will be emailed to the customer after they request a return.

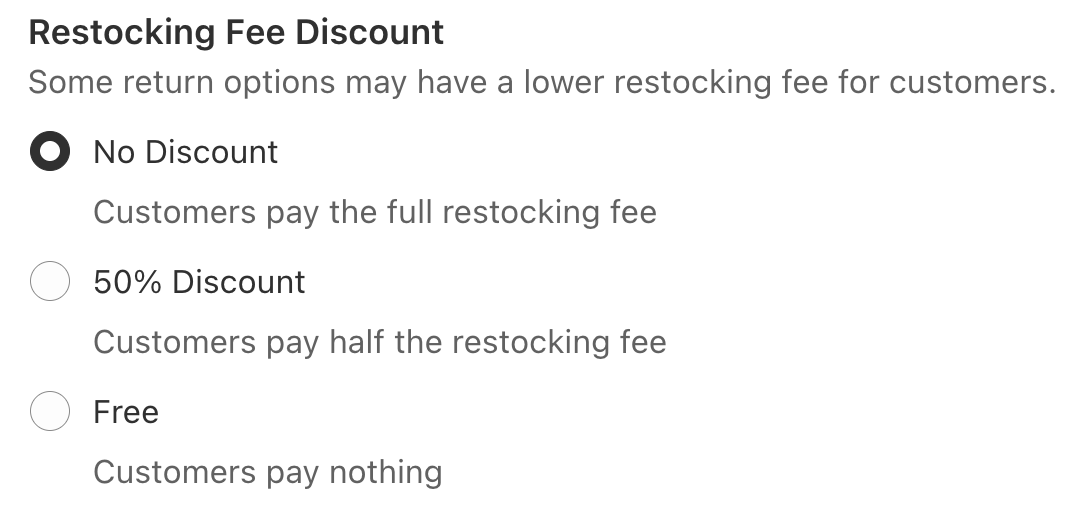
- Restocking Fee Discount: For some return options (e.g. customers paying for their own return label, or returning in-store), you may wish to offer a discount or remove the restocking fee entirely.

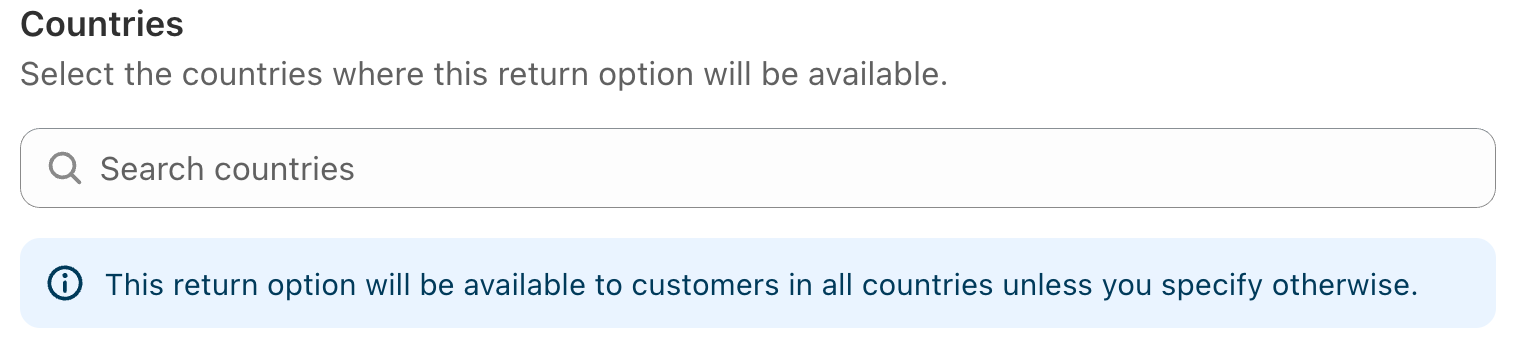
- Country Selection: Search for and select the countries you wish to apply your return option to - this can be handy if you want customers in certain countries to pay for their own returns, for example. If this selection is left blank, the return option will be applied to all countries.

- Add/Delete Return Options: Click the + Add Another Return Option Bar at the bottom of the section to add additional return options. To remove an option, click the red Remove button at the top-right of the related option.
- Save Changes: Once you're satisfied with the settings, click Save Changes at the bottom of the page to save your return preferences.
- Return Management Option: Select the desired option from the drop-down list. This defaults to 'Send return label via email'. With this option, enter the email address that will receive the return requests, and edit the instructions that will be emailed to the customer after they request a return.

Return Options List: The return options that can be selected are:
- Send Return Label via Email: Manually generate a pre-paid return label and send it to the customer, as described above.
- Include Return Label with Outgoing Order: Include a pre-paid, printed return label in the package when sending the customer's order.
- Allow Customers to Handle Their Own Returns: Customers will pay for and be responsible for their own return label. Specify the return address you wish customers to send their items back to. With this option, it is recommended to not charge a restocking fee.
- Return In-store: If you have store locations, you can allow customers to return their items in-store. You can add a list of store locations, which customers will select from when they initiate their return. With this option, it is recommended to not charge a restocking fee.
- Use eParcel Account to Generate Return Labels: If you have an eParcel account, Try with Mirra is able to integrate with this in order to automatically generate return labels. See the related guide here.
- Use Starshipit API to Generate Return Labels: If you use Starshipit, it can be used to generate return labels. See the related guide here.
- Use Royal Mail API to Generate Return Labels (UK Merchants): Try with Mirra is integrated with Royal Mail Click & Drop. See the related guide here.
If you need support setting up a return option or managing an integration, contact us at support@trywithmirra.com